Learning Fusion.js Tutorial
This tutorial will cover building a Fusion.js app from scratch. We will be walking through step-by-step how to build a simple app that fetches data from a public API. The goal is to walk through a few Fusion.js concepts as we build functionality into a simple to-do app.
We won't focus too much on the React/UI portion as any good React tutorial or the offical React docs are better places to learn.
It will be helpful to read through the Core Concepts of Fusion.js before running through this tutorial but it is not required as we will explain as we go along.
Prerequisites
yarn and node are required to be installed for this tutorial.
Installation
To begin, we'll need to create a new project and install the core Fusion.js framework. Fusion.js, at a minimum, is composed of three separate packages, each dedicated to a different part of the framework:
fusion-coreis the core library, responsible for plugin registration, and handling the request lifecycle of a Fusion.js app.fusion-reactextendsfusion-coreand replaces the internal rendering engine with React. Both client and server side rendering logic are included.fusion-cliis a set of command line tools that compile all source code as well as starts the Node server that runs a Fusion.js app
These are explained in Core Packages.
For now, let's just setup and install all of the packages in our new project. We'll need to install a few extra packages beyond the core libraries as peer dependencies (fusion-tokens, react, and react-dom).
$ mkdir fusion-tutorial
$ cd fusion-tutorial
$ yarn init
$ yarn add fusion-core fusion-react fusion-cli fusion-tokens react react-dom
Initializing the app
Let's add some code to instantiate our Fusion.js app. Create a new folder named src and a new file named main.js and add the following code to it.
import App from 'fusion-react';
import React from 'react';

export default async function start() {
  const root = <div>Hello World</div>
  const app = new App(root);
  return app;
}
NOTE: The Fusion.js compiler expects all application source code to be placed in the
src/directory and specifically the main entrypoint to be located atsrc/main.js. There are Fusion.js-specific tranformations the compiler will apply to files insrc/but not files outside (e.g.node_modules, etc).
That's all we need to get started. To run our code, we'll use helper scripts installed from fusion-cli. Add the following script to your package.json file.
{
"scripts": {
"dev": "fusion dev"
}
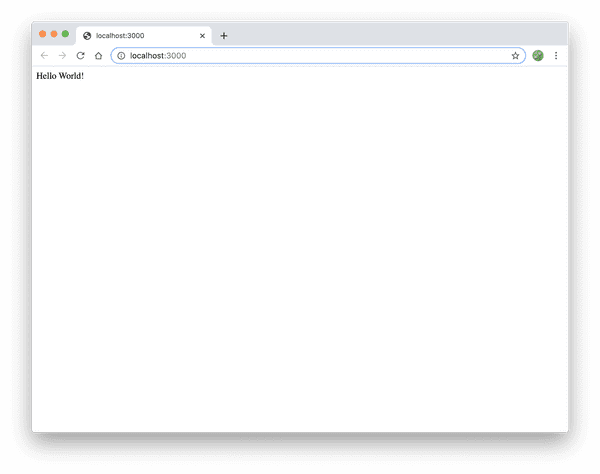
}Then, run yarn dev to start the Fusion.js server. After the code compiles, you will see "Hello World" rendered on the page in plain text.
7 lines of code was all it took to start rendering content onto our page! Let's take a closer look at the code that we just wrote. While it doesn't do much currently, it sets up the foundation that we will build on and also introduces some important points about Fusion.js:
Appis an instance of theFusionAppclass exported fromfusion-react. TheFusionAppclass is responsible for both client and server side rendering as well as handling requests. The functionality can also be extended via plugins that we will learn about later.- When
fusion devis invoked, it compiles your code, spins up a Node server, and proxies all requests toFusionApp. This explains why the entrypoint file atsrc/main.jsonly returns an instance ofFusionAppand does nothing else related to creating an HTTP server. (The actual Node server is obfuscated behindfusion-cli.)
Hot Module Reloading (HMR)
Try making changes to your source file, such as changing the text from "Hello World" to "Goodbye". You'll notice that the developer tooling provided by fusion-cli has been setup with hot module reloading out of the box.
Bundle Splitting
If you inspect the page resources using Chrome dev tools, you'll see three separate scripts were downloaded:
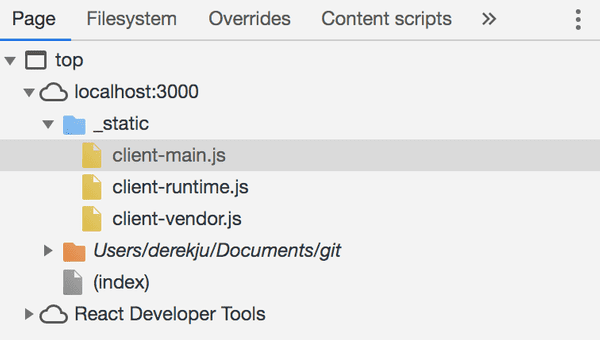
Behind the scenes, fusion-cli intelligently handles how to bundle split your application so that you don't have to worry about tweaking Webpack configurations manually by hand.
Next Steps
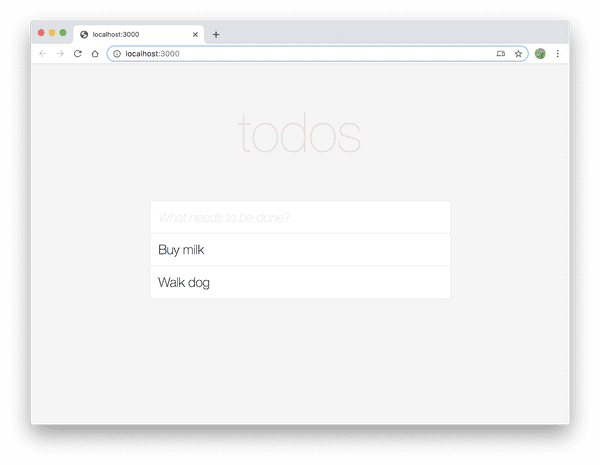
In the next section, we'll build the UI for our to-do app.